Key Takeaways
- Proper sand media filter placement prevents premature clogging of downstream emitters by capturing organic debris, sediment, and algae from surface or well water sources
- Correct installation orientation and spacing minimizes unnecessary pressure loss that reduces irrigation system performance across large farm or commercial landscapes
- Aligning filter placement with accessible, drain-friendly locations simplifies regular backwashing and routine maintenance to extend unit service life
- Pairing your sand media filter with compatible control components ensures consistent, automated operation without manual intervention for 24/7 irrigation use
Pre-Installation Site Assessment: Match Placement To Your Water Source
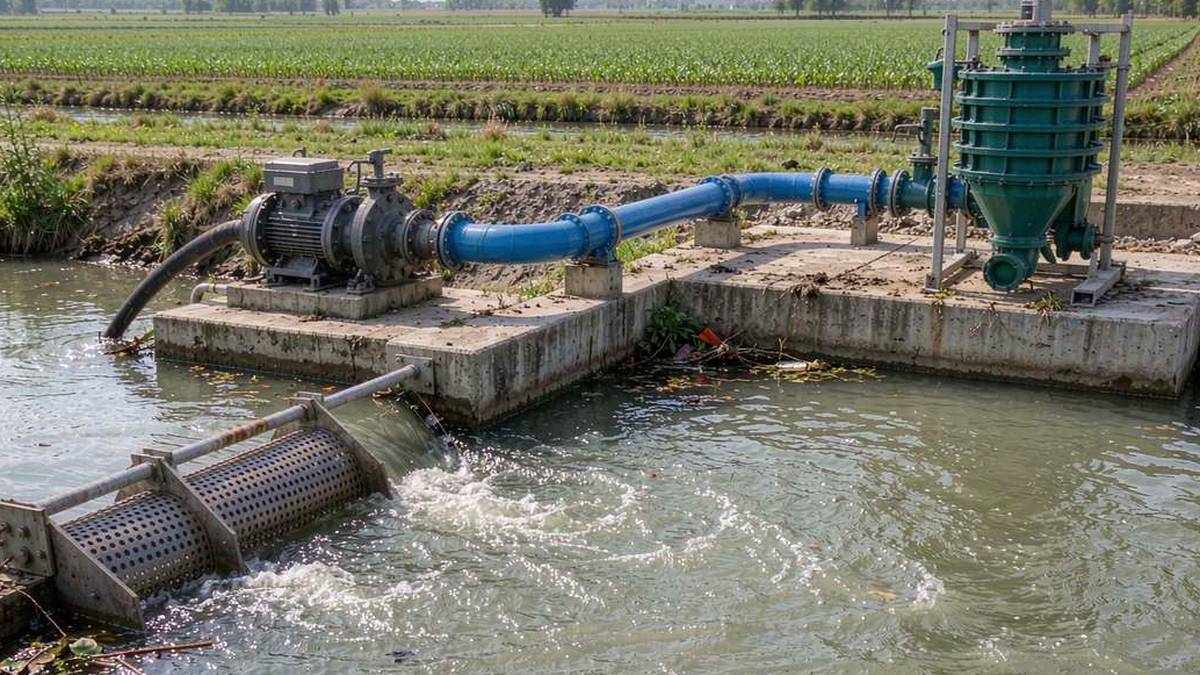
With 14 years of manufacturing and export experience serving over 60 countries, LZHS has helped thousands of agricultural and commercial irrigation operators avoid costly installation errors that reduce filter lifespan and damage downstream hardware. Your first placement decision should be tied directly to your primary water source, as different sources carry distinct contaminant loads that change your system flow order. For well water, which typically carries heavy fine sand particles, the sand media filter should be positioned after your well pump and after any hydrocyclone sand separator that removes large, fast-settling grit. For surface water sources including rivers, ponds, and open reservoirs, place the sand media filter immediately after your intake pump, to capture algae, decaying plant matter, and loose sediment before it travels further into your main line. Sand media filters are designed to capture particles between 20 and 100 microns, making them ideal primary filtration steps before finer secondary filters rated for 100 mesh (150 micron) or smaller particles that sit just upstream of your emitters.
Mandatory Placement Rules To Avoid Pressure Loss Issues
Poor placement is the number one cause of excessive pressure loss across sand media filters, which can drop operating pressure far enough to reduce sprinkler range or create uneven water distribution across your irrigation zone. Never install the sand media filter on a steep downward elevation slope that creates negative pressure on the filter outlet side, as this can pull unfiltered water past the sealing components and contaminate your downstream line. Leave a minimum of 1.5 meters of clear, unobstructed space around the full perimeter of the filter vessel for inspection, media top-ups, and part replacement. You should also never install the sand media filter downstream of your main system pressure regulator, as this will cause the filter to operate at artificially low pressure that reduces filtration efficiency and slows backwash flow speed. Keep inlet pressure to the filter consistent at 30 to 80 PSI for optimal performance.
Ideal Placement Relative To Other Irrigation System Components
The correct order of components in your full irrigation line will ensure your sand media filter works as intended, reducing wear on all downstream filtration hardware. The standard recommended flow order is: water source pump -> hydrocyclone sand separator -> sand media filter -> disc or screen secondary filter -> main distribution line -> sprinklers or drip emitters. This sequence removes the largest, heaviest particles first to prevent them from wearing down the sand media prematurely, while the secondary fine filter catches any remaining small particles that could clog 150 or 200 mesh emitter nozzles. Many professional installers opt for the LZHS Two-Position Three-Way Valve (4" Double Chamber) to streamline backwash flow direction changes without extra, clunky custom piping runs. This valve cuts down on the number of connection points that can develop leaks over years of outdoor use.
Backwashing Access And Drainage Requirements
Sand media filters rely on regular backwashing to lift and agitate the filter bed, flush trapped contaminants out of the vessel, and reset filtration performance for the next cycle. Your filter must be placed within 3 meters of a dedicated, code-compliant wastewater drain that can handle the full backwash flow rate without backing up. Running long, narrow discharge hoses to a faraway drain will reduce backwash pressure, preventing the media bed from lifting fully and leaving trapped sediment stuck in the lower layers of the sand. Automated backwash systems rely on reliable control components to trigger cycles when pressure differential across the filter hits 7 to 10 PSI, and the LZHS Dorot Type Solenoid Coil delivers reliable, long-lasting performance for automated backwash cycles even in dusty outdoor farm environments. Avoid placing the filter in a low-lying area prone to seasonal flooding, as prolonged water exposure can corrode the vessel base and control wiring.
Common Installation Mistakes To Avoid
One of the most frequent costly mistakes new operators make is installing the sand media filter after their secondary disc or screen filters, which causes the finer filters to clog extremely quickly from bulk sediment, requiring weekly cleaning instead of the recommended quarterly maintenance. Other common errors include placing the filter in a locked, hard to access shed that prevents quick pressure checks, or failing to leave space to open the top of the vessel to add fresh sand media every 1 to 2 years as media breaks down over time. For more installation tips and regular irrigation filtration best practices, you can visit the LZHS news and resource hub for updated guides for agricultural and commercial irrigation operators.
Post-Installation Testing Steps For New Units
Once you have your sand media filter connected in the correct location, do not immediately run full flow to your downstream emitters. First, run a manual full backwash cycle for 3 to 5 minutes to flush any loose fine dust from the new sand media out of the vessel, to prevent that fine dust from traveling downstream and clogging your emitters. Next, run a standard filtration cycle at your normal operating flow rate, and record the baseline pressure difference between the filter inlet and outlet to use as a reference point for future backwash trigger settings. Check all connection points for leaks over a 24 hour test period before you connect the final section of main line leading to your emitters.
FAQ
Q: Can I install a sand media filter outdoors in freezing weather?
A: You can, but you must add full drain ports for the vessel and all connected piping, and insulate exposed components, or move the unit to a covered shed if temperatures drop below 0°C for extended periods to prevent media damage and pipe bursts.
Q: Where should I place a sand media filter for a drip irrigation system?
A: Install it as the first primary filtration step after your water pump, before your 120 mesh (130 micron) or finer secondary screen or disc filters, to catch bulk sediment, algae and organic matter before it reaches the finer filters and clogs drip emitters.
Q: How far does a sand media filter need to be from the main irrigation pump?
A: Leave a minimum of 2 meters of straight unobstructed piping between the pump outlet and the filter inlet to avoid turbulent flow that can cause uneven wear on your filter media and raise unnecessary pressure loss across the unit.